
Whether you’re redecorating your home or simply rearranging fixtures, removing wall plugs is one of those tasks that sounds straightforward — until it leaves a ragged, ugly hole behind. The good news is that with the right approach, you can pull out those anchors cleanly and restore your wall so flawlessly that no one will ever know something was there.
Why Yanking Out a Wall Plug Causes So Much Damage
Wall plugs are designed to grip tightly inside plaster or drywall, creating a firm anchor for screws and fittings. This very strength is what makes them problematic to remove. When you attempt to pull one out forcefully, the surrounding wall material gets torn along with it, resulting in a ragged, oversized hole.
The problem compounds over time. Older plugs tend to become even more firmly embedded as the surrounding plaster hardens around them, making brute-force removal especially destructive. This is precisely why the go-to method of grabbing a plug with pliers and pulling hard so often ends in frustration and wall damage.
The Right Way to Remove a Wall Plug: The Screw-and-Pliers Method
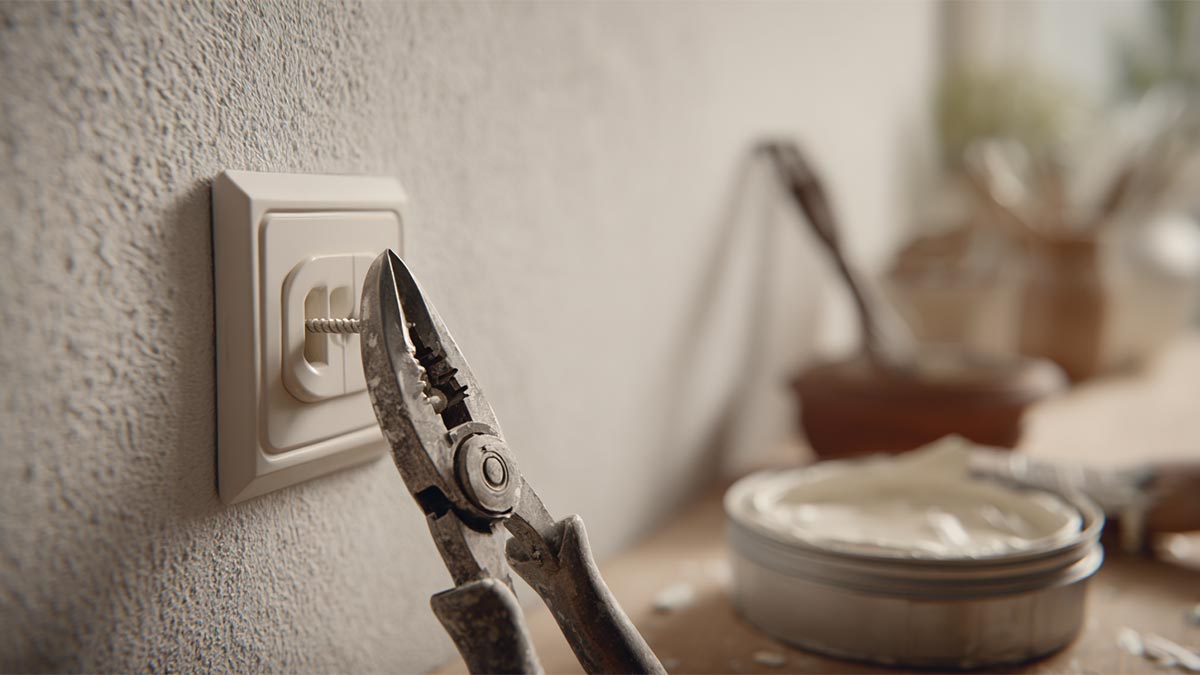
The most effective technique for extracting a wall plug without causing collateral damage involves two simple tools — a screw and a pair of pliers.
Begin by threading a screw into the plug’s center, making sure it catches securely. Once the screw is firmly seated, use the pliers not to yank, but to gently rotate and ease the plug out with a controlled twisting motion. This gradual, rotational pressure breaks the plug’s bond with the surrounding material far more cleanly than any direct pulling force could.
The process may require a little patience, but the result is a small, neat hole rather than a crater of crumbling plaster — and that makes the repair job significantly easier.
Screw Size Guide by Plug Diameter:
| Wall Plug Size | Recommended Screw |
|---|---|
| 6mm (¼ inch) | No. 6 or 8 wood screw |
| 8mm (5/16 inch) | No. 8 or 10 wood screw |
| 10mm (3/8 inch) | No. 10 or 12 wood screw |
How to Fill the Hole So It Disappears Completely
Once the plug is out, the next priority is filling the hole so it blends invisibly into the wall. The material you choose matters:
Spackle works best for small, shallow holes. It dries quickly and sands easily, making it ideal for minor repairs. Joint compound is the better option for larger voids or situations where multiple layers of filler are needed — it takes longer to cure but produces a smoother, more seamless result.
Apply your chosen filler directly into the hole, pressing it in firmly and bringing it level with the surrounding wall surface. Use a putty knife to smooth and feather the edges outward so there’s no raised ridge or obvious boundary. Depending on the depth of the hole, you may need to apply two or more thin coats, allowing each one to dry fully before adding the next.
Spackle vs. Joint Compound — Quick Reference:
| Filler Type | Best Used For |
|---|---|
| Spackle | Small, shallow holes; quick-drying; easy to sand |
| Joint Compound | Larger holes; multi-layer repairs; smoother finish |
Sanding and Painting: Making the Repair Truly Invisible
With the filler dried and hardened, sanding is what transforms a patched hole into a truly invisible repair. Start with a coarser sandpaper to knock down any excess material or uneven spots, then progress to a finer grit to achieve a silky-smooth surface that matches the texture of the surrounding wall.
The goal is a seamless blend — no ridges, no shadows, no telltale outlines. Work gently and check your progress frequently by viewing the surface at an angle against the light, which reveals any imperfections your fingertips might miss.
Before applying paint, prime the repaired area. Primer improves paint adhesion and helps prevent the patched spot from absorbing paint differently than the rest of the wall — a common cause of visible “flashing” in the final finish. Once the primer is dry, apply a paint that precisely matches your existing wall color and finish. Feather the painted edges carefully to prevent any visible demarcation line.
Allow the filler a full 24 hours to cure before painting, or follow the specific drying time recommended by the manufacturer.
When Removing a Plug Uncovers a Bigger Problem
Sometimes pulling out a plug reveals something more serious — crumbling plaster, hairline cracks, or signs of deeper structural deterioration. If you notice any of these warning signs, resist the temptation to simply fill over them.
Addressing the underlying issue first — whether that means applying a skim coat, resurfacing a larger area, or consulting a professional — will produce a far more durable result. Covering up structural damage only delays a larger and more expensive repair job down the line.
Planning Ahead: Smarter Decorating with Wall Plug Awareness
If you’re planning a decorating project that involves moving artwork, repositioning shelving, or updating fixtures, factoring in wall plug removal from the outset can save you significant time and effort. Knowing that clean removal and seamless repair are achievable makes it easier to commit to layout changes without worrying about leaving permanent marks on your walls.
With the right tools and a methodical approach, what once seemed like an annoying DIY obstacle becomes a routine and manageable part of refreshing your living spaces.
Conclusion
Removing wall plugs without wrecking your walls is entirely achievable when you replace brute force with a smarter method. The screw-and-pliers technique allows for clean extraction, while careful application of the right filler, thorough sanding, and matched paint ensures the repair is completely invisible. Whether you’re dealing with a single small anchor or a wall full of old fixings, these steps give you the confidence to tackle any layout change without leaving a trace. Take your time, work methodically, and your walls will emerge looking as good as — or better than — before.
- → Nationwide Listeria Recall in France: What You Need to Know About Contaminated Pâtés and Cold Meats in 2026
- → The Unexpected Household Hack That Keeps Wet Floors and Entryways Clean in 2026
- → The Hair Transformation Women Over 50 Are Talking About in 2026: What Really Works for Thinning Hair
- → Marseille’s Mistral District in Crisis: Arrests, Secrets, and a Growing Mystery in 2026
- → Massive 35-Meter Waves in the Pacific: What Scientists Are Discovering in 2026
- → Why You’re Receiving More Spam Calls in 2026: The Hidden Reasons and How to Stop Them
- → The Express Chignon: A Quick and Elegant Hairstyle for Busy Women in 2026
Frequently Asked Questions
How do I know which screw size to use when removing a wall plug? Match the screw diameter to the plug size. A 6mm plug takes a No. 6 or 8 wood screw, an 8mm plug takes a No. 8 or 10, and a 10mm plug works best with a No. 10 or 12 screw.
Is it okay to skip sanding and just paint over the spackle? It’s not recommended. Sanding is what creates a smooth, flush surface — skipping it almost always results in a visible bump or an uneven texture that’s obvious once the paint dries.
What if my wall has a textured finish? Textured walls require extra steps. You may need to apply a skim coat, use a texture spray to replicate the original pattern, or in some cases repaint the entire wall to achieve a consistent appearance.
How can I tell if there’s structural damage behind the plug hole? Look for cracking, crumbling material, or soft spots around the hole. If the plaster feels unstable or you can see the damage spreading beyond the plug’s immediate footprint, treat the underlying issue before doing your patch repair.
Should I prime the patched area before painting? Yes. Primer ensures the fresh paint bonds properly and prevents the repaired spot from absorbing color differently from the rest of the wall, which would make it stand out.
How long should I wait before painting over the repair? At minimum, allow 24 hours for the filler to dry completely. Always check the manufacturer’s recommended curing time for the specific product you’ve used.
What if I can’t find an exact paint color match? Blend the new paint into the surrounding area using a small brush or sponge, feathering the edges carefully. With practice, this technique can minimize or eliminate any visible color discrepancy.
Can I use this method on larger holes? The screw-and-pliers extraction technique and spackle repair work well for small to medium-sized plug holes. For significant structural damage or very large openings, more involved drywall repair or professional plastering may be required.


Leave a comment